Showing posts with label baby stuff. Show all posts

Monday, January 20, 2014

Tutorial Summer Baby Blanket Part 2

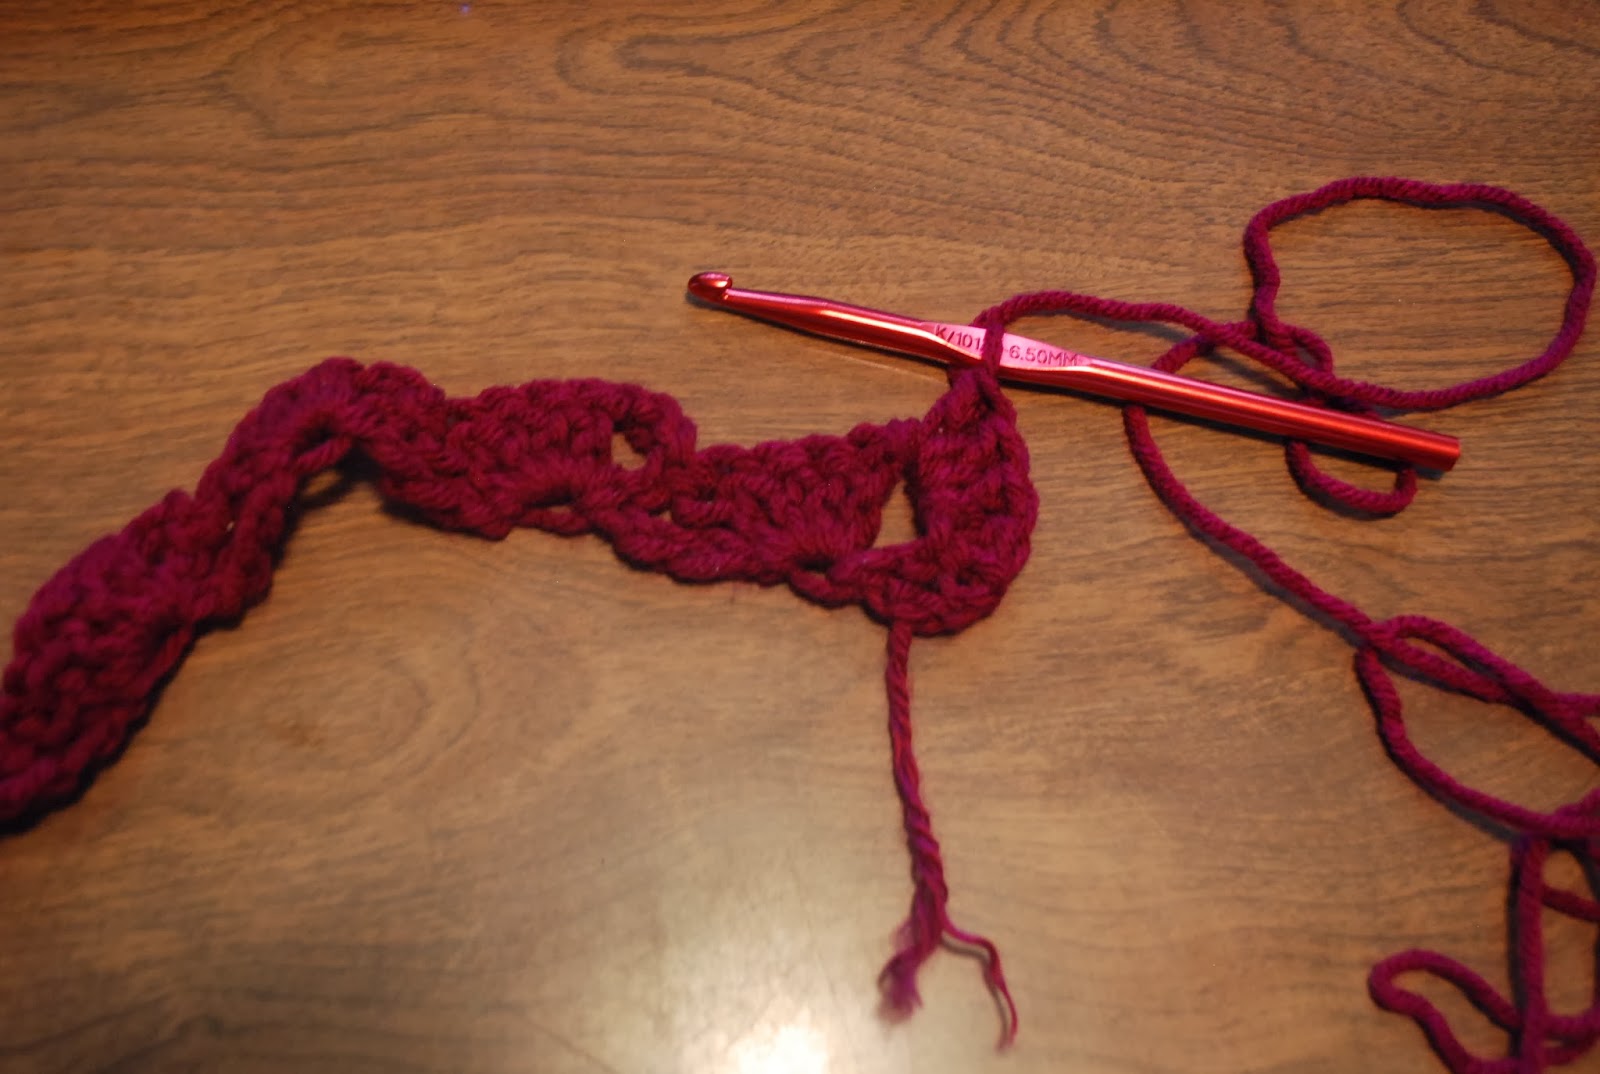
Row 2: *(4 dc, ch 3, dc) all in next ch-3 space* across, dc in 3rd ch of turning ch-3. Ch 3, turn.
You are crocheting into the "hole" created on the previous line when you chained 3.   
 Note: I hold my needle incorrectly so the way it is sitting in the pictures may differ slightly from how it looks in your hands.

 Crochet the 4 double crochet into the hole created by the chain 3.


 Crochet the 4 double crochet, followed by chain 3,
 Double crochet into the same hole,
 After the 1 double crochet after the chain 3, start double crocheting the 4 into the next group of chain 3.


If you have any more questions, let me know.
I am loving this lady's blog, bye the way!

http://lacycrochet.blogspot.com/2013/06/summer-baby-blanket-in-variegated-yarn.html

This is how I understand it.  I wont know til I am able to get back around to this turn on the return trip.  I'll let you know.


Oh, and this cute baby is why I am posting so late!

Monday, March 19, 2012

Little Boy Bath Towel Tutorial

Here it goes: My first tutorial attempt.
 So, I started with a full sized towel, a rag (that matches the stripes in the big towel), and another towel that I had used half of for pot holder filling at Christmas.  I cut off a twelve inch strip across the the top of the half used towel. I made it twelve by eleven and then cut off a slightly angled piece across the top on the folded side.  Then I sewed across the top and down to the fold.  I used the finished edge that came on the towel for the front of the hood.
 I cut the rag in half at an angle and after finishing off the rough edge with a nice zig-zaggy stretch stitch, used a strait stitch to sew the angle pieces to the two corners 

 The towels were folded in half when I bought them so there was a nice fold mark to match the center of the hood to.  Make sure to keep the right sides together.  The blue hand towel triangles should be on the inside so the little one can put his/her hands in them.
 It pinned up nicely and sewed like a breeze, again with the zig-zaggy stretch stitch. Part of it already had a finished edge (from the edge of the towel) but the other side didn't which is why I used the zig-zaggy stitch instead of a strait stitch when attaching the hood.


 It's hard to sew and take pictures at the same time; don't do it very long or else you may just sew right off your project.
 My helper.  Watch out for those little grabby fingers.
 "Mom, this looks like fun."
 Trying it out; he doesn't like it so very much.
 Here it is folded up.  It looks like a regular hooded towel except it's now ready for a little boy to use.  
A friend and I were discussing how our poor boys got our daughters's left over princes and butterfly towels so I decided that Mr. Parker needed his own "boy" towel. Since this is my first try, it's not very exciting; I hope that they will be more exciting after this with more boyishness.  Maybe I can add bear ears or fishes on the next one.