Tuesday, June 7, 2011

Duckies


The ride home....

Their first morning in their new digs.

Jessica trying to catch one in her lap.

Holding duckies.

There is a duckie between her lap and she is trying to feed it a daisy.


I had put the ducks in between my legs so I could keep them contained, but then she had to too.

At first I had a white over shirt on until I decided that Duck Poop probably doesn't wash out as well as I would like.


Duckies in the legs!


Holding the duckies. She loves them.

Pointing at the duck in my lap and trying to pet it.

Holding a duck...she loves them so.

Sunday, May 29, 2011

Jessie playing


Other Random Nature photos


A little yard work

I was working on cleaning out the weeds and blackberries from this flower/garlic bed. Also, I started to clear off the side walk and discovered the grass was covering it by about 5 inches...thank you for free sod.


I have been digging out the spot for my strawberry bed.
I want it to be about 4 feet wide and the length of the green house.
My wheel barrow is getting full of dirt clods. I have nice top soil and sand to fill the box with when I am done. I plan on re-using some of the dirt that I dig out but would mostly like to use the nice dirt that I bought for the purpose.
I used some of the dirt clogs to fill a little ditch beside our house. I dug up two of my yard roses and then used some of the dirt clogs to fill that hole. Up by the house is a little poured sidewalk that the grass has been growing over. I was able to collect some sod from there to put on top of the holes from the roses. That was a handy find.

That's a lot more digging than I realized I was getting into. Silly me.

Also, I cleaned out so much blackberries and roses and stuff that I now have a very stickery pile to move (when my wheel barrow is empty).
More later as I hope to be back at it this afternoon!
Thank you, Lord, for this wonderful property, for the wonderful green house, and for the desire to make it prettier!

Friday, May 20, 2011

Post For Sarah

I wanted to share with you a few photos. I mowed the whole back yard over this last week or so.

These are some flowers blooming in the backyard.


I picked up a few strawberry plants the other day and am hoping to build my strawberry bed tomorrow. I am borrowing my Mother-in-laws truck to get a load of loam and a wheel barrow. I can't wait to get them in. We have little green strawberries on the plants.


Columbine plant...beautiful plants!

The pretty plant that you saved has these beautiful purple flowers.


I haven't gotten anything done up here yet, but am hoping to this weekend or next if the weather cooperates.


Thanks for all your help! You are the bestest friend ever!

Wednesday, April 27, 2011

The Pugliese Bread Experiment

The other night, while perusing the Safeway Bread section, I saw a loaf of un-assuming "Italian" bread that perked my interest and called my name. The label called it Pugliese Bread. When I got home, I put olive oil in a pan with garlic and a few herbs, then set it on a warm burner that I had just turned off so that the oil would heat but not get too hot. Ooooo! Garlic and herb flavored oil is amazing for dipping good Italian bread and I had just brought home some of the best Italian bread that I was ever to have.
Well, a little veggie soup and Pugliese Bread dipped in flavored olive oil made a fabulous bread. I went back to the Safeway bread section for more, but, alas, there has been no more there! Why? Don't they realize what amazing bread they had???? I did.
So, my husband sat down at the computer for me since I couldn't find a good recipe when I looked. The following Friday I planned on having my friend Sarah (K) over for dinner for more Pugliese Bread and soup. She went to the store for bleu cheese and sun-dried tomatoes while I planned to make the bread. Thursday night I sat down to print out the recipe. Pugliese requires a starter made the night before and left out to sit over night. I thought I would be coming home after work so I could bake bread right before dinner, until I discovered how many steps are required to make the bread and how many hours are in between each step! I was frustrated, at first, until I realized that I could take the ingredients with me and make the bread while I work (since I babysit).
My nephew, Ben, who is 5, wanted to help and turned out to be a lot of help. We had lots of fun and he really liked digging his hands into the gooey dough. Here are some pictures of the process and a links to the blogs where I (and by I: I mean my husband) found the recipes.

The Starter on the morning after. It's called the "Biga".


After we put in all the ingredients. Ben was very helpful.


After 2 hours of rising time, it had grown quite a bit!


After 3 hours of rising time...


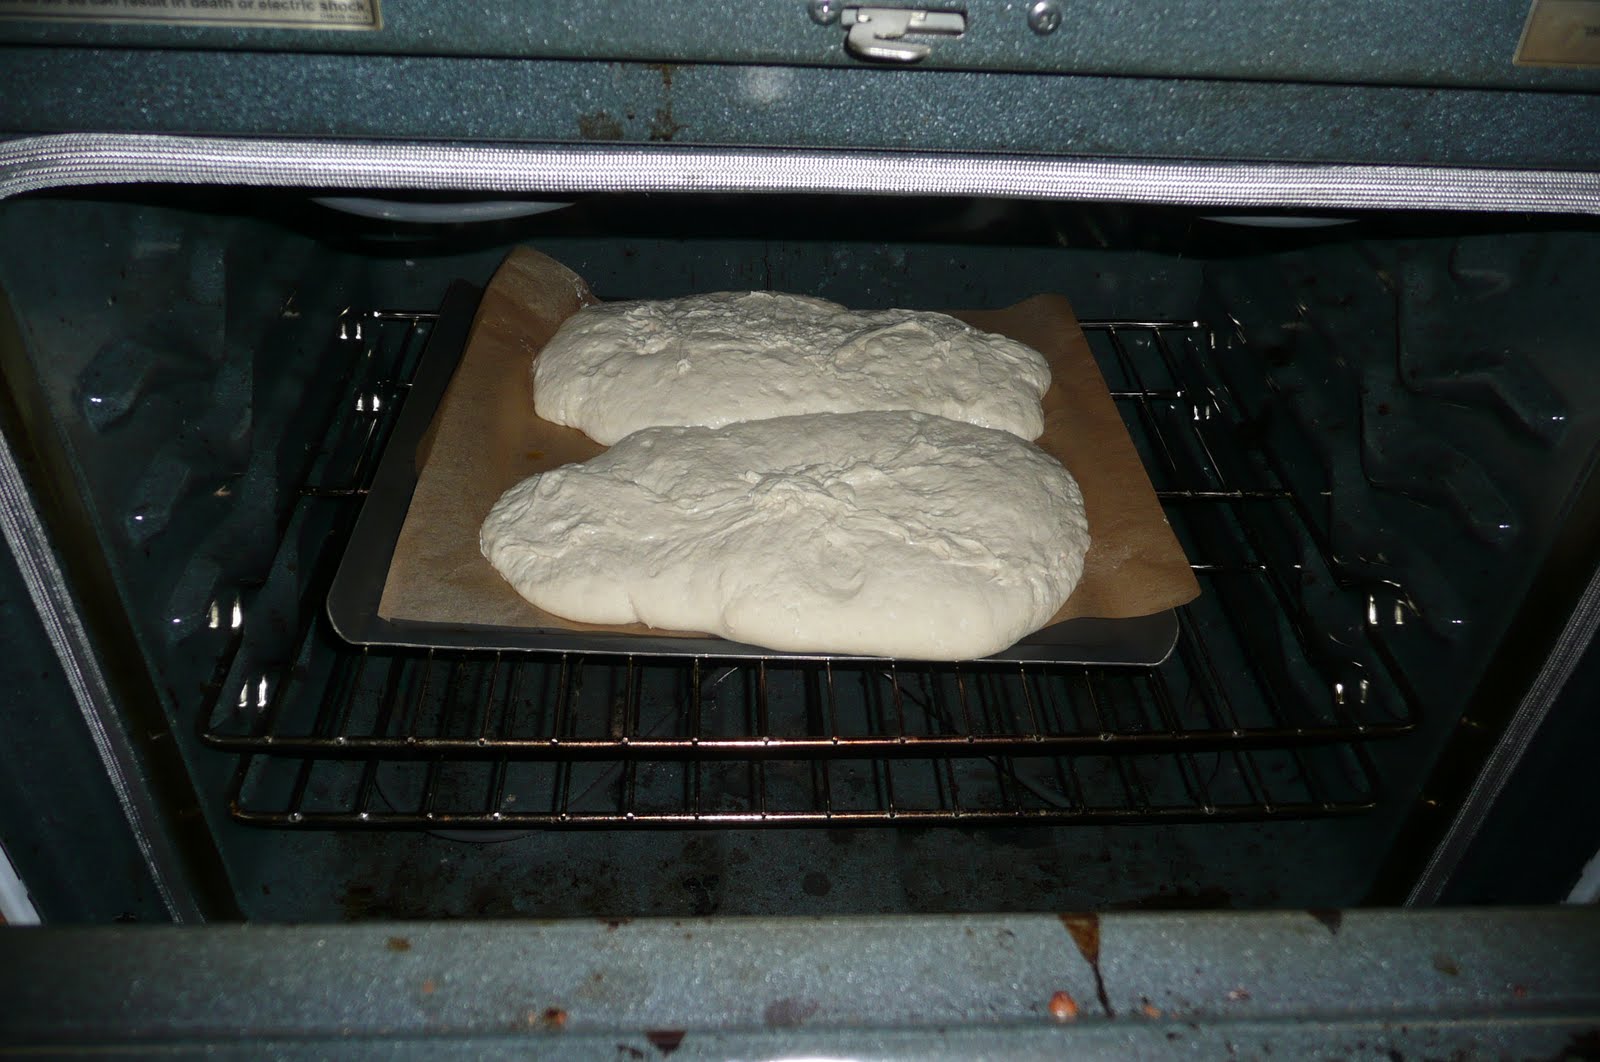
Ben's loaf is the front one, mine is the back. We just pulled the dough out of the pan and laid it out. It's very sticky and therefore hard to get in a nice shape.


90 minutes later... We put an oiled sheet of saran wrap over the bread for the raising process. My nephew was concerned that it would catch on fire. I assured him that we would take it off before we put it into the oven at 450 degrees.


And eat!!!! It didn't raise as much as I thought it would and wasn't as "holey" as the bought bread. It was, however, as bouncy in texture and as wonderful tasting as the bread from Safeway. My friend brought over her bleu cheese and sun-dried tomatoes which we put on the slices and toasted in my toaster oven. I had never had toasted bleu cheese before and am now hooked! Mmmmmm!!!! So, the veggie soup and olive oil work well with this bread. We will definitely be making it again.

I got my Biga recipe from here:
http://www.fornobravo.com/brick_oven_cooking/bread/pugliese.html

http://www.realbakingwithrose.com/2007/01/baby_breada_great_new_techniqu.html

Saturday, January 1, 2011

Jeans Apron

Being silly...she is such a sweety!
I trimmed the edges and made the neck strap and ties out of the pocket material. I had some matching green lying around, so I topped the pocket with it and added lace. My daughter really likes it but it's not for her.
When I cut the second one out, I actually trimmed the top like the directions told me too. I had used the back pockets off my jeans for the first apron, so I used some scraps to make the pockets of the 2nd.
I later tucked the top flaps in and stitched.
First apron. Not a pleasant photo of me, but the blog wouldn't let me delete it, so here it is.

The blog I found it on is here:
http://mybyrdhouse.blogspot.com/2007/09/september-apron-tutorial-jeans-apron-2.html